Set up your iMac
The first time your iMac starts up, Setup Assistant walks you through the simple steps needed to start using your new Mac. You can respond to all the prompts, or skip some steps and choose to complete them later. For example, it might make sense to set up Screen Time—which you can set for different users—after initial setup.
Setup Assistant guides you through the following:
Set your country or region: This sets the language and time zone for your Mac.
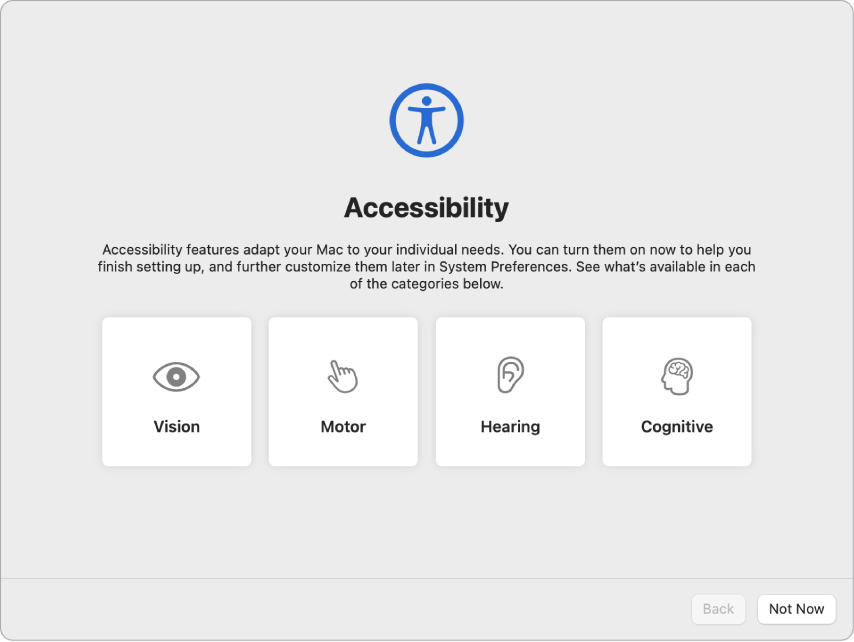
Accessibility options: View accessibility options for Vision, Motor, Hearing, Cognitive abilities, or click Not Now. To learn more, see Accessibility on your Mac.
Connect to a Wi-Fi network: Choose the network and enter a password, if necessary. (If youʼre using Ethernet, you can also choose Other Network Options.) To change the network later, click the Wi-Fi status icon
 in the menu bar, click Other Networks, then choose a Wi-Fi network and enter the password. You can also choose to turn Wi-Fi on or off here.
Tip: After setup, if you don’t see the Wi-Fi status icon
in the menu bar, you can add it. Open System Preferences, then click Network. Click Wi-Fi in the list on the left, then select “Show Wi-Fi status in menu bar.” Transfer information: If you’re setting up a new computer and you haven’t previously set up a Mac, click Not Now. If you want to transfer your data from another computer now or later, see Transfer your data to your new iMac.
Sign in with your Apple ID: Your Apple ID consists of an email address and a password. It’s the account you use for everything you do with Apple—including using the App Store, Apple TV app, Apple Books, iCloud, Messages, and more. It’s best to have your own Apple ID and not share it. If you don’t already have an Apple ID, you can create one during setup (it’s free). Sign in with the same Apple ID to use any Apple service, on any device—whether it’s your computer, iOS device, iPadOS device, or Apple Watch. See Apple Account on Mac.
Tip: If you’ve already set up another device with the latest software versions (macOS 12 or later, iOS 15 or later, iPadOS 15 or later), you’ll see a panel for express setup, “Make This Your new Mac,” that skips a lot of the steps and uses the settings stored in your iCloud account.
Store files in iCloud: With iCloud, you can store your content—documents, photos, and more—in the cloud, and access it anywhere you go. Be sure to sign in with the same Apple ID on all your devices. To set this option later, open System Preferences and sign in with your Apple ID if you haven’t already. Click Apple ID, click iCloud in the sidebar, then select the features you want to use. You can also choose to use iCloud Keychain to save your passwords during setup. To learn more, see Access your iCloud content on your Mac.
Screen Time: Monitor and get reports on the use of your computer. For options and details, see Screen Time on Mac.
Enable Siri and “Hey Siri”: You can turn on Siri and “Hey Siri” for your 24-inch iMac or 27-inch iMac during setup. To enable “Hey Siri,” speak several Siri commands when prompted. To learn how to turn on Siri and “Hey Siri” later and for information about using Siri on your Mac, see Siri on your Mac.
Set up Touch ID: If your keyboard supports it, you can add a fingerprint to Touch ID when you set up your 24-inch iMac. To set up Touch ID later, or to add additional fingerprints, open System Preferences, then click Touch ID. To add a fingerprint, click
 and follow the onscreen instructions.
Tip: If two or more users use the same iMac, each user can add a fingerprint to Touch ID to quickly unlock, authenticate, and log in to the iMac. You can add up to three fingerprints per user account, and a total of five fingerprints for all your iMac user accounts.
See Use Touch ID on Mac in the macOS User Guide.
Set up Apple Pay: You can set up Apple Pay for one user account on your iMac during setup. Other users can still pay with Apple Pay, but they must complete the purchase using their iPhone or Apple Watch that’s been set up for Apple Pay (see Use Apple Pay on your Mac). Follow the onscreen prompts to add and verify your card. If you already use a card for media purchases, you might be prompted to verify this card first.
To set up Apple Pay or add other cards later, open System Preferences, then click Wallet & Apple Pay. Follow the onscreen prompts to set up Apple Pay.
Note: Many credit and debit cards can be used with Apple Pay. The card issuer determines whether your card is eligible to use with Apple Pay, and may ask you to provide additional information to complete the verification process. For information about Apple Pay availability and current credit card issuers, see the Apple Support article Apple Pay participating banks.
Choose your look: Select Light, Dark, or Auto for your desktop appearance. If you want to change the choice you make during setup, open System Preferences, click General, then select an appearance option. You can also set other preferences here.
Tip: If you’re new to Mac, see Are you new to Mac? and the Apple Support articles What’s it called on my Mac? and Mac tips for Windows switchers.